How to measure Ring size: 5 Practical Method
Finding the right ring size is crucial for comfort and security. A ring that fits well should slide smoothly onto your finger and come off with a slight tug. Whether you’re shopping for yourself or a loved one, knowing how to measure ring size can save time and prevent frustration.
There are several ways to determine your ring size at home or with professional help. In this article, we will explore five effective methods to measure ring size. These methods are simple, reliable, and will help you find the perfect fit for any occasion.
How To Measure Ring Size
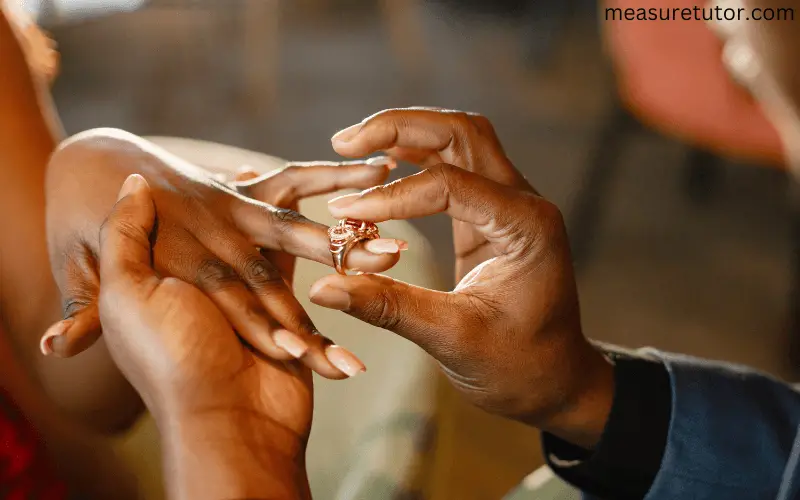
Ring is an ornament that we use regularly and measuring ring size is important for perfect fit. With just a few simple tools, you can find the perfect fit without leaving your house. We are discussing the best 5 methods for the perfect fit.
Method 1: Use Paper Strip
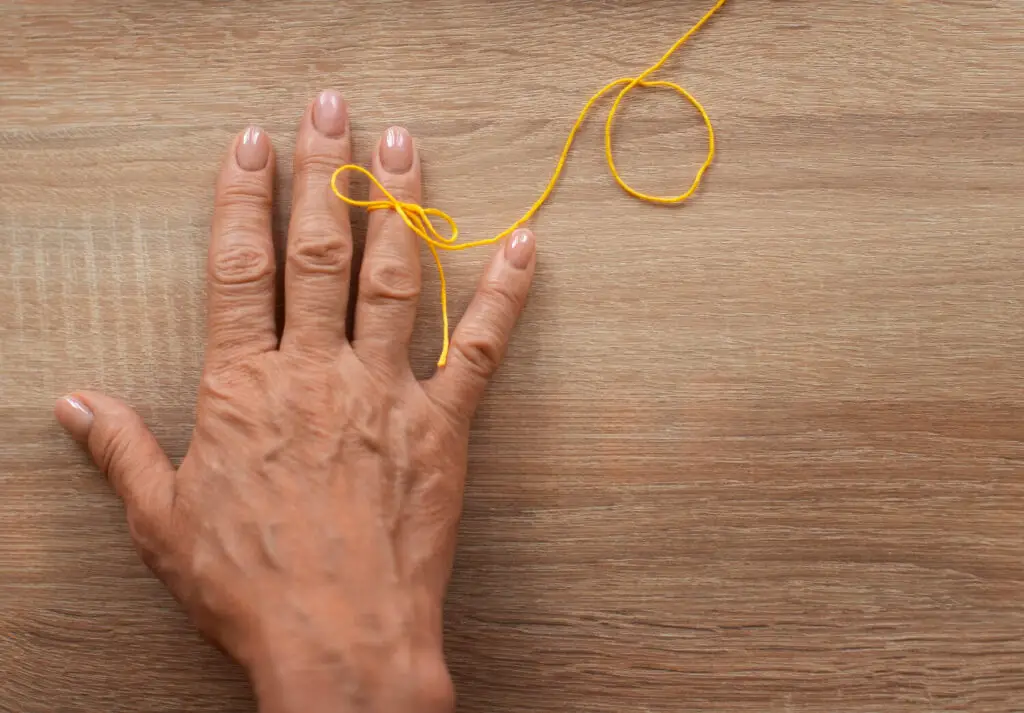
This method involves using a strip of paper or a piece of string to measure your finger’s circumference.
What You’ll Need
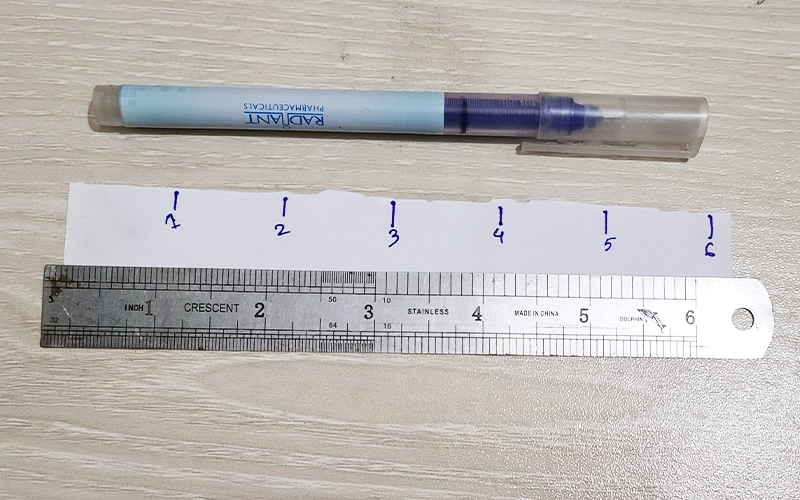
- String or paper strip: A thin piece, about 6 inches long.
- Ruler: A standard ruler with millimeter (mm) measurements.
- Pen or marker: To mark the string or paper.
- Existing ring: Optional, for comparison.
Step 1: Choose the Finger
Decide which finger the ring will be worn on, as finger sizes can vary even between your dominant and non-dominant hands. Keep in mind that fingers tend to be larger in the evening or after physical activity due to swelling, so measure at different times of day for accuracy.
Step 2: Wrap the String or Paper
- Take the string or paper strip and wrap it around the base of the chosen finger. Ensure it’s snug but not too tight. If you’re using string, avoid stretching it.
- Mark where the string or paper overlaps with a pen or marker.
Step 3: Measure the Length
- Lay the string or paper flat and use a ruler to measure the length from the end to the mark.
- Record this measurement in millimeters. This number is the circumference of your finger.
Step 4: Find Your Ring Size
Use a ring size chart to match your finger’s circumference to the correct size. Below is a simplified chart:
| Circumference (mm) | Ring Size (US) |
| 44.2 mm | 3 |
| 46.8 mm | 4 |
| 49.3 mm | 5 |
| 51.9 mm | 6 |
| 54.4 mm | 7 |
| 57.0 mm | 8 |
| 59.5 mm | 9 |
| 62.1 mm | 10 |
| 64.6 mm | 11 |
| 67.2 mm | 12 |
Step 5: Double-Check Your Measurement
For accuracy, measuring your finger a couple of times and comparing the results is a good idea. If you have a ring that fits the same finger, you can also measure its diameter (straight across the inside of the ring) and compare it to the size chart.
Additional Tips
Temperature Matters: Your fingers may shrink when cold, so try to measure at a comfortable room temperature.
Don’t Measure in the Morning: Fingers are typically slightly swollen in the morning.
Consider the Ring’s Width: Wider bands fit more snugly, so you may need to go up a half size for a wider ring.
Pros and Cons of This methods
Pros
Simple and requires only common household items.
Cons
Can be slightly inaccurate if the string stretches or the paper isn’t wrapped snugly.
Method 2: Using a Printable Ring Size Chart
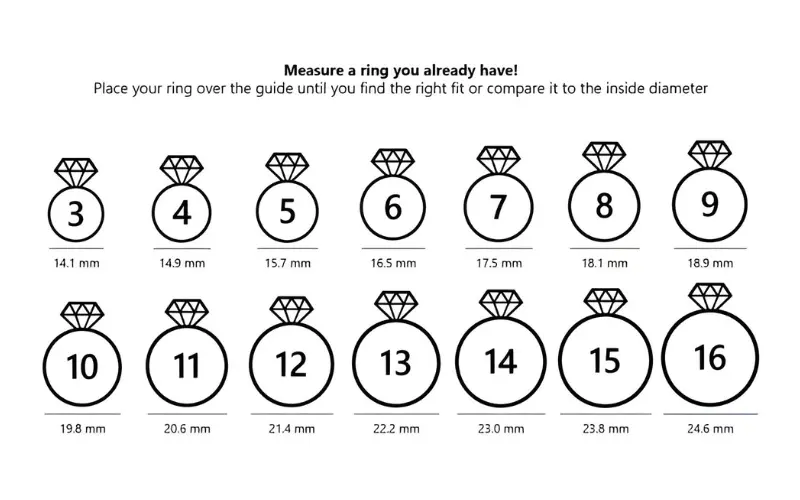
Using a printable ring size chart is one of the easiest and most accurate methods to measure your ring size at home. Follow this step-by-step guide to ensure you get the perfect fit.
What You’ll Need
- Printable ring size chart: Download or print a chart from a reputable jeweler’s website.
- A ring that fits well: This should be a ring that fits the finger you’re measuring.
- Printer: Make sure it’s set to print at 100% scale (no scaling).
- Ruler: To verify the accuracy of the printed chart.
Step 1: Print the Ring Size Chart
- Download the ring size chart from a trusted source.
- When printing, ensure that your printer settings are set to 100% scale or “actual size” to avoid scaling affecting accuracy.
- After printing, use a ruler to check that the scale on the chart matches the measurements. Most charts will include a line labeled with a specific length (e.g., 10mm) that you can measure with your ruler to confirm accuracy.
Step 2: Select the Right Circle
1. Place your well-fitting ring over the printed circles on the chart.
2. Align the inside edge of your ring with the circles on the chart. The correct size is the one where the circle fits perfectly inside the ring, with the circle touching the inside edge all the way around.
Step 3: Double-Check Your Measurement
Try Multiple Rings: If possible, test more than one ring that fits the same finger to ensure consistency.
Consider Thickness: If the ring you’re planning to purchase is wide, you might want to choose a slightly larger size for comfort.
Step 4: Note Your Ring Size
Once you find the circle that matches your ring, note down the size that corresponds to it on the chart. This is your ring size in the system used by the chart, typically US, UK, or European sizes.
Additional Tips
Use a Metal Ring for Measurement: If you have a metal ring that fits well, it will provide a more accurate comparison than a ring made from flexible materials.
Account for Swelling: Measure your ring size when your fingers are warm, as they tend to be slightly larger. Avoid measuring first thing in the morning or after strenuous activity.
What to Do If You Don’t Have a Ring
If you don’t have a ring to measure, some printable ring size charts include a measuring strip that you can cut out and use similarly to a string or paper method. Wrap the strip around your finger, note where it overlaps, and compare the length to the chart.
Pros and Cons of this Method
Pros
Accurate and easy to use with an existing ring.
Cons
Requires access to a printer and a correctly scaled chart.
Method 3: Ring Sizer Tool
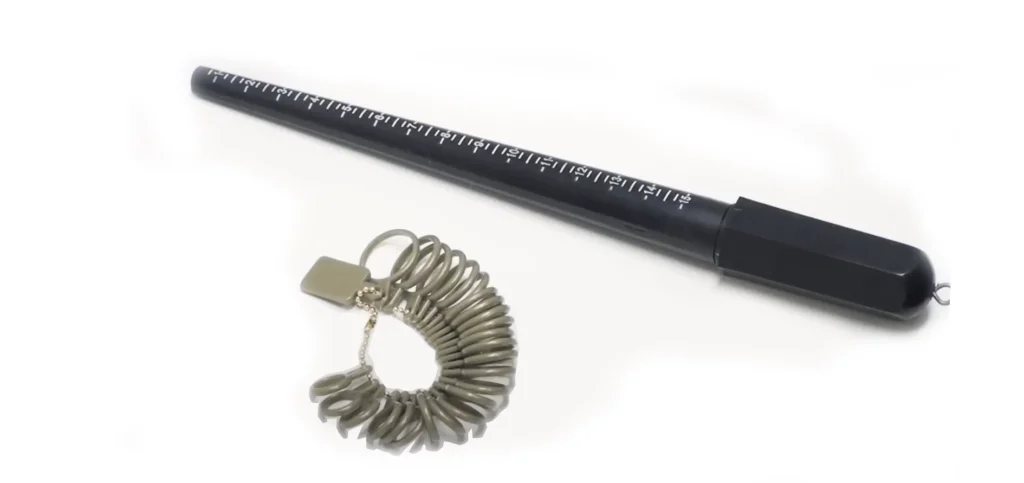
Using a ring sizer tool is one of the most accurate ways to measure ring size at home. This method involves using a specially designed tool, often made of plastic or metal, that allows you to easily determine the perfect fit for your finger. Ring sizer tools are affordable and widely available, making this method both convenient and reliable.
What You’ll Need:
- A ring sizer tool (plastic or metal)
- A ring size chart (optional, usually included with the tool)
Step 1: Choose the Finger
Decide which finger you want to measure. Remember that each finger may vary in size, so it’s important to measure the specific finger where you plan to wear the ring. For example, your dominant hand’s ring finger might be slightly larger than the other hand’s.
Step 2: Select the Ring Sizer
Most ring sizer tools come with a series of rings or a belt-like measuring strip. Start by selecting a ring from the tool that you think is close to your size. If you are using a measuring strip, slide it onto your finger like a belt and tighten it until it feels snug but comfortable.
Step 3: Adjust the Fit
If you’re using individual ring sizers, slide the chosen ring onto your finger. The ring should fit snugly over your knuckle without feeling too tight. If it feels loose or doesn’t slide easily, try a different size. If you’re using a measuring strip, adjust it around your finger to ensure it’s not too tight or too loose. Make sure the tool can move smoothly over your knuckle.
Step 4: Read the Size
Once you have found a ring or strip size that fits comfortably, check the marked size on the tool. Most ring sizer tools are marked with US, UK, or other international sizes. If the size isn’t clear, refer to the ring size chart included with your tool.
Step 5: Double-Check Your Measurement
It’s always a good idea to double-check your measurements to ensure accuracy. Repeat the steps above with a few different sizes around your estimated size range. You may want to measure your finger multiple times, especially if it’s your first time using the tool.
Additional Tips
- Measure at the Right Time: Your fingers can swell or shrink throughout the day due to various factors like temperature or activity. Measure your ring size at the end of the day when your fingers are at their largest.
- Consider Your Knuckle Size: If you have large knuckles, choose a size that fits over the knuckle but is not too loose at the base of your finger.
- Account for Band Width: Wider rings tend to fit more snugly, so if you’re choosing a wide band, you might need to size up slightly.
Pros and Cons of This Method
Pros:
- Highly Accurate: This method provides a precise measurement of your ring size.
- Affordable and Reusable: Ring sizer tools are inexpensive and can be reused multiple times.
Cons:
- Availability: You need to purchase a ring sizer tool, which might not be as readily available as household items.
- Learning Curve: Some people might find it challenging to use the tool correctly the first time.
Method 4: Visiting a Jeweler
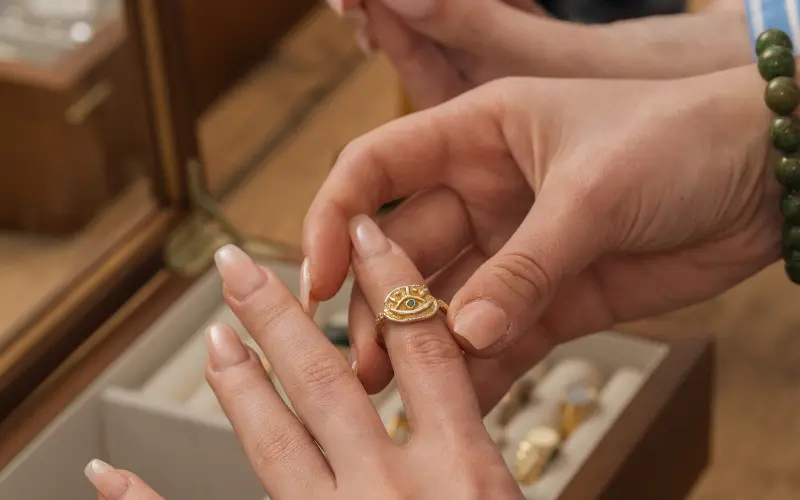
Visiting a professional jeweler is the most accurate and reliable method to measure ring size. Jewelers have specialized tools and experience to ensure that you get the perfect fit. This method is ideal if you want a precise measurement or are purchasing an expensive ring.
What You’ll Need:
- A local jeweler or jewelry store
- A little time to visit the store
Step 1: Find a Reputable Jeweler
Begin by finding a reputable jeweler in your area. Look for a jewelry store with positive reviews and experienced staff. Many jewelers offer complimentary ring sizing services, especially if you are purchasing a ring from them. It’s always a good idea to call ahead and confirm that the jeweler provides ring sizing.
Step 2: Schedule a Visit
While some jewelers accept walk-ins, it’s best to schedule an appointment, especially during busy times. This ensures that the jeweler can dedicate enough time to accurately measure your ring size. When scheduling, mention if you are bringing an existing ring or if you are starting from scratch.
Step 3: Get Measured by the Jeweler
Once at the jeweler, a professional will use a ring mandrel, finger gauge, or sizing tool to determine your ring size. A finger gauge is a set of metal or plastic rings in a range of sizes that you can try on to find the most comfortable fit. The jeweler will guide you through the process, making sure the ring slides over your knuckle but isn’t too loose.
Step 4: Consider the Style of the Ring
Discuss the style and width of the ring you plan to buy with the jeweler. Ring size can vary depending on the style. For example, wider bands usually require a slightly larger size for a comfortable fit. The jeweler may offer advice on whether to go up or down a size based on the ring’s style and finger shape.
Step 5: Double-Check Your Size
After the jeweler determines your ring size, double-check it to ensure accuracy. Try a couple of different sizes if you’re uncertain. Jewelers are more than happy to confirm your size to avoid any mistakes.
Additional Tips
- Measure Both Hands: If you’re buying a ring for your right hand, have that hand measured specifically. The ring finger on your dominant hand might be slightly larger.
- Consider Future Resizing: Discuss with your jeweler the possibility of resizing in the future. Some metals, like titanium and tungsten, are harder to resize.
- Ask for a Sizing Card: Some jewelers provide a ring sizing card, a handy tool to have if you need to measure your size at home in the future.
Pros and Cons of This Method
Pros:
- Highly Accurate: Professional jewelers have the expertise and tools for precise sizing.
- Personalized Service: You receive personalized advice tailored to your needs.
- Opportunity to Try Different Styles: Visiting a jeweler allows you to try on different ring styles and sizes.
Cons:
- Time-Consuming: You need to find time to visit a jeweler, which might not be convenient for everyone.
- Potential Costs: Some jewelers may charge for a sizing service if you’re not purchasing a ring from them.
Method 5: Using an Existing Ring
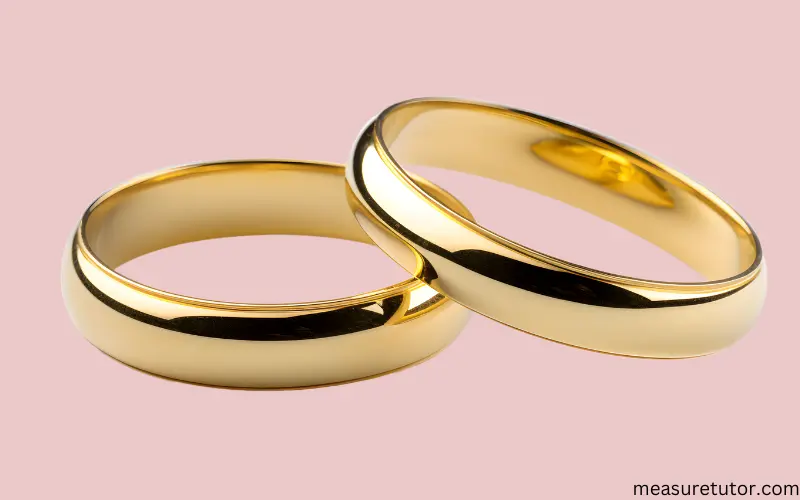
If you already have a ring that fits perfectly, using it to measure your ring size is one of the easiest methods. This approach is especially useful if you’re buying a new ring as a surprise and want to ensure it matches a ring your loved one already wears. By comparing the existing ring to a size chart or using a sizing tool, you can accurately determine the correct size.
What You’ll Need:
- An existing ring that fits well
- A ring size chart or a ring mandrel
- A ruler or caliper (for measuring inner diameter)
Step 1: Choose the Right Ring
Select a ring that fits the finger you want to size. The ring should slide on and off comfortably without being too tight or loose. Ensure the ring is not bent or misshapen, as this could affect the measurement.
Step 2: Measure the Inner Diameter
Place the ring on a flat surface. Use a ruler or caliper to measure the inside diameter of the ring from one inner edge to the opposite inner edge. Make sure to measure in millimeters for accuracy. If you’re using a ruler, try to be as precise as possible.
Step 3: Compare with a Ring Size Chart
Once you have the inner diameter measurement, compare it to a ring size chart. These charts are widely available online and show the corresponding ring size for various inner diameters. Match the measurement to the closest size on the chart. This will give you the ring size in different standards, such as US, UK, or European sizes.
Step 4: Use a Ring Mandrel
Alternatively, if you have a ring mandrel (a tapered measuring tool), you can slide the ring onto the mandrel to find the size directly. The mandrel will have size markings that correspond to different ring sizes. Slide the ring down until it stops and note the size marking on the mandrel at that point.
Step 5: Double-Check Your Measurement
It’s always a good idea to double-check your measurements. Repeat the process a few times or use different tools if available. Consistent results confirm the accuracy of your measurement.
Additional Tips
- Consider the Ring’s Thickness: If the existing ring has a thick band, it might fit more snugly. When purchasing a thinner ring, you may need to slightly adjust the size.
- Measure a Well-Worn Ring: Choose a ring that has been worn frequently and fits well, as fingers can change size over time.
- Verify the Finger: Ensure the ring you’re measuring fits the correct finger, as sizes can differ between fingers and hands.
Pros and Cons of This Method
Pros:
- Quick and Easy: This method is straightforward and can be done with minimal tools.
- Reliable if the Ring Fits Well: If the existing ring fits perfectly, this method provides a highly accurate size.
Cons:
- Limited to Available Rings: You must already have a ring that fits well, which may not always be the case.
- Potential for Inaccuracy: If the ring is bent, stretched, or does not fit well, measurements may be off.
Conclusion
Finding the right ring size doesn’t have to be complicated. By learning how to measure ring size at home or with the help of a jeweler, you can ensure a perfect fit every time. Whether you use a simple paper strip, a handy ring sizer tool, or an existing ring, there’s a method that works for everyone. Choose the approach that feels easiest for you, and enjoy the confidence of knowing your ring will fit just right.
