Guide to Window Measurements: How to Measure Windows Correctly
Accurate window measurements are the foundation of successful installations, energy efficiency, and aesthetic appeal. Whether you’re replacing old windows, installing blinds, or constructing a new home, a single measurement error can lead to drafts, water damage, or costly delays.
This comprehensive guide simplifies the process for everyone—from first-time homeowners to seasoned construction workers. We’ll cover how to measure windows correctly, clarify industry standards (like width vs. height order), and provide actionable tips for tricky scenarios. Let’s get started.
Why Accurate Window Measurements Matter
Before diving into the “how,” understand the “why.” Precise measurements:
- Prevent Costly Errors: An ill-fitting window can cost hundreds in reorders or repairs.
- Boost Energy Efficiency: Gaps from poor sizing let in drafts, raising heating/cooling bills by up to 30% (U.S. Department of Energy).
- Streamline Purchases: Retailers and contractors demand exact dimensions to provide accurate quotes.
- Ensure Safety: Basement egress windows, for example, must meet legal size requirements for fire escapes.
- Enhase Curb Appeal: Well-proportioned windows elevate your home’s exterior design.
Tools You’ll Need
Gather these tools to ensure precision:
- Steel Tape Measure: Avoid fabric tapes—they stretch and warp over time. A 25-foot tape is ideal for large windows.
- Notepad and Pencil: Record measurements immediately; memory alone isn’t reliable.
- Level: Check for squareness, especially in older homes with settling foundations.
- Ladder: For measuring second-story windows safely.
- Laser Measure (Optional): Provides digital accuracy for tech-savvy users.
- Flashlight: Illuminate tight spaces like basement window wells.
Window Measurements 101: Width vs. Height First
The question “Do I list width or height first?” confuses many beginners. Here’s the definitive answer:
- Industry Standard: Width always comes first (e.g., 36″ x 48″ = 36” width, 48” height).
- Why This Order?: Manufacturers, contractors, and retailers universally adopt this format to avoid confusion.
- Exception: Some European brands use height x width. Always confirm notation before ordering.
Step-by-Step Guide to Measuring Windows
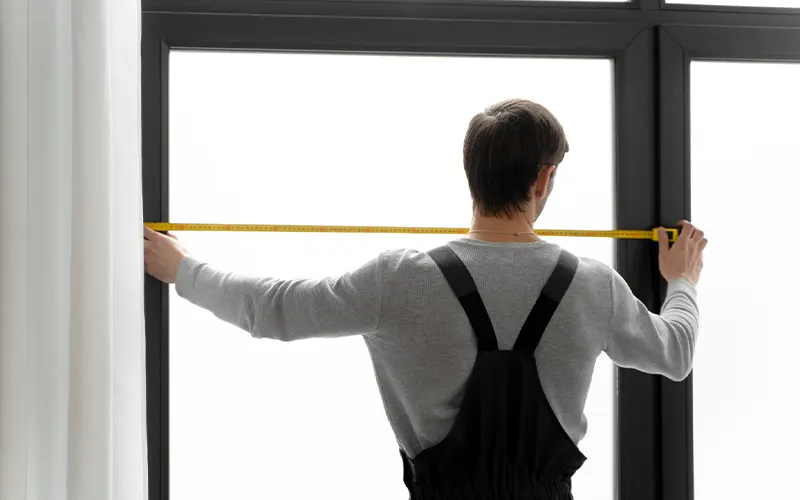
1. How to Measure Window Width
For Replacement Windows:
- Measure the inside of the existing frame horizontally at three points: top, middle, and bottom.
- Record the smallest measurement to ensure the new window fits snugly.
- Pro Tip: Remove interior trim for a clearer view of the frame.
For New Construction:
- Measure the rough opening (the wall space where the window will sit).
- Subtract ½” from the width to allow for insulation and adjustments.
Special Cases:
- Double Windows: Measure the total width across both frames, including the mullion (center divider).
- Bay Windows: Treat each section as a separate unit (see our dedicated Bay Window Measurements Guide for details).
2. How to Measure Window Height
Steps:
- Measure vertically on the left, center, and right sides of the frame.
- Include the sill if replacing the entire window.
- For Double-Hung Windows: Measure both the upper and lower sashes separately.
Common Pitfalls:
- Sloped Sills: Measure from the sill’s highest point to the header.
- Non-Standard Shapes: For arched windows, measure from the base to the peak of the curve.
3. Measuring Depth
Depth is critical for replacement windows. Here’s how to get it right:
- Measure from the interior trim to the exterior trim.
- Standard depths range from 3.25″ (vinyl frames) to 6.5″ (wood frames).
- Too Shallow? The window may not fit; Too Deep? It may protrude awkwardly.
4. Checking for Squareness
Even new homes can have uneven frames. Use these steps:
- Place a level horizontally on the window header—adjust until the bubble is centered.
- Measure diagonally from the top-left corner to the bottom-right corner.
- Repeat from the top-right to bottom-left.
- Acceptable Variance: Up to ¼”. Larger gaps require custom windows or frame adjustments.
Special Cases and Pro Tips
Double Windows
Double or paired windows (common in living rooms) need extra attention:
- Measure the entire span, including the mullion.
- Note whether the mullion is removable or part of the frame.
- Example: A 48″ x 60″ double window with a 2″ mullion would be ordered as 50″ x 60″.
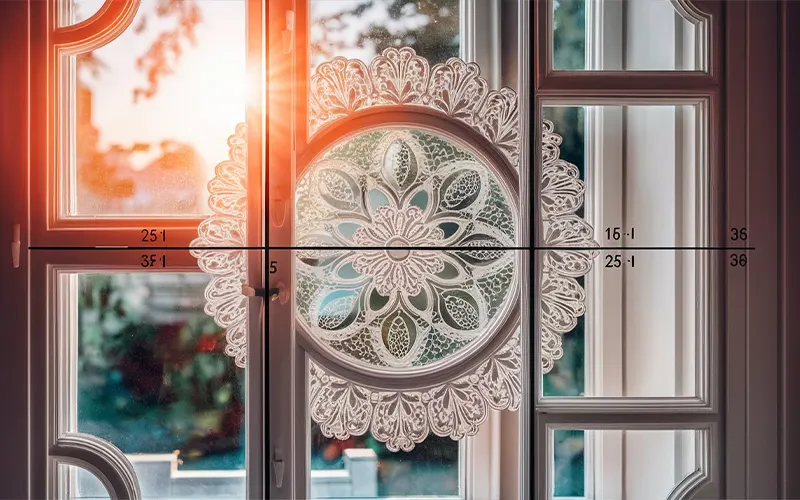
Non-Rectangular Windows
Arched, circular, or trapezoidal windows require specialized approaches:
- Arched Windows: Measure the width at the base and the height from base to arch peak.
- Circular Windows: Measure the diameter at the widest point.
- Tip: Use a flexible tape measure for curved frames.
How to Write Window Measurements
Clarity prevents misunderstandings:
- Format: Width x Height x Depth (e.g., 32″ x 54″ x 4.5″).
- Label Clearly: “36W x 60H” avoids confusion.
- Include Notes: Mention obstructions (e.g., “Left side has a 2″ air duct 6″ from the frame”).
Common Mistakes to Avoid
- Assuming Standard Sizes: Even “standard” 24″ x 36″ windows can vary by ⅛” between brands.
- Ignoring Frame Material: Vinyl expands in heat; wood contracts in cold. Account for seasonal changes.
- Measuring Once: Always measure twice, record thrice.
- Forgetting the Sill: Sill depth affects blinds and exterior trim.
Pro Tips for Contractors and Homeowners
For Contractors:
- Use manufacturer templates to cross-check measurements.
- Note any electrical wiring or plumbing near the window opening.
For Homeowners:
- Measure during daylight for better visibility.
- Take photos of the window and label dimensions directly on the images.
For DIY Blinds or Treatments:
- Inside Mount: Measure the frame’s narrowest width and height.
- Outside Mount: Add 2–3″ to each side for full light blockage.
FAQs About Window Measurements
Q: Should I measure the window frame or the glass?
A: For replacements, measure the frame. For treatments like blinds, measure the glass area.
Q: How do I measure basement egress windows?
A: Follow local building codes—most require a minimum 20″ width x 24″ height for safe escape.
Q: What’s the difference between “rough opening” and “frame” measurements?
A: The rough opening is the wall hole; the frame is the window itself. The rough opening should be ½″ larger than the frame.
Q: Can I measure windows alone, or do I need help?
A: Use a ladder stabilizer for high windows, or ask a partner to hold the tape measure.
When to Call a Professional
While DIY is cost-effective, hire a pro for:
- Historic Homes: Original windows may have irregular sizes or lead paint.
- Structural Issues: Cracks, rot, or load-bearing walls require expert assessment.
- Custom Shapes: Arched or stained-glass windows often need templating services.
Conclusion
Measuring windows might seem tedious, but precision pays off in energy savings, aesthetics, and hassle-free installations. Remember: Width x Height x Depth is the golden rule, and always triple-check your numbers. Bookmark this guide for your next project, and explore our articles on Bay Window Measurements or Window Treatment Sizing for more insights. When in doubt, consult a professional—better safe than sorry!